Once a document has been converted, it is ready for validation (Status = Ready). There are several ways to start validating documents:
- Selecting the Start validating documents button in top right banner will select and open, one after each other, the first three CloudScan documents. The CloudScan documents’ status will automatically change to Locked.
- You can choose which documents to validate by clicking on the checkbox next to each and then clicking on the Start validating documents button.
- You can select a specific document to validate by clicking on the document itself

- Validating header level details
- Validating line level details
- Validating charges and discounts
- Validating taxes
- Saving and proceeding
- Rejecting a document
- Putting a document on “hold”
- Options menu
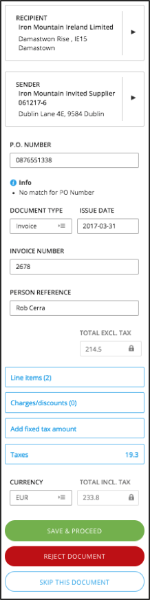
Validating at Header Level
- Recipient (receiving branch)
- Sender (supplier)
- Document Type (Invoice or Credit Note)
- Issue Date (YYYY-MM-DD)
- Invoice Number
- PO Number (if applicable)
- Person Reference (name of the buyer)
- Currency
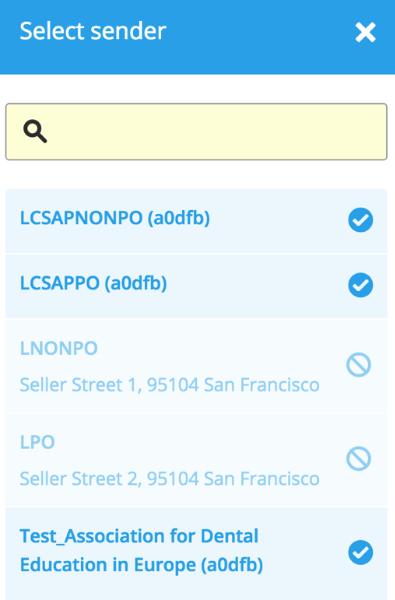
Validating the Sender
- Validate that the tool has correctly identified the sender
- If the Sender is listed as unknown, or if the Sender needs to be corrected, click on the Sender button
- Start typing to get a list of values, or clear the search box to get the full list of available suppliers
- Suppliers that already have an active account in Tradeshift will not be available for processing through CloudScan AP
- If the correct supplier does not show up on the list, this supplier needs to be included in a Supplier Master Data uploading or file or created manually outside of CloudScan AP
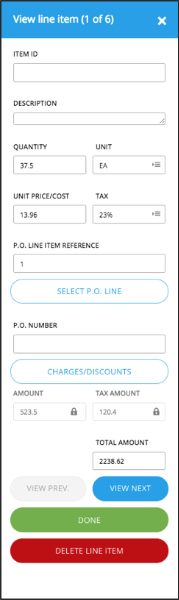
Validating Line Level Details
2. Click on each line at a time to start validating
3. The following fields are required for each line:
- Description (no special characters allowed on this field)
- Quantity
- Unit
- Unit Price/Cost
- Tax
5. Click Done to validate the next line and to return to header level details once all lines have been validated.
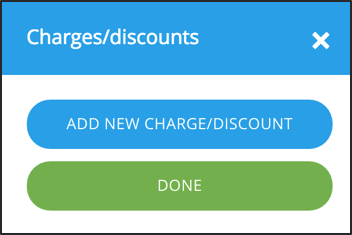
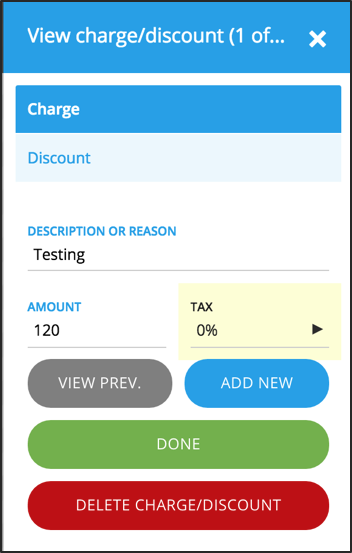
Validating Charges/Discounts
- Click on Charges/discounts
- Select Charge
- Enter Description or Reason
- Enter Amount charged
- Enter the matching Tax
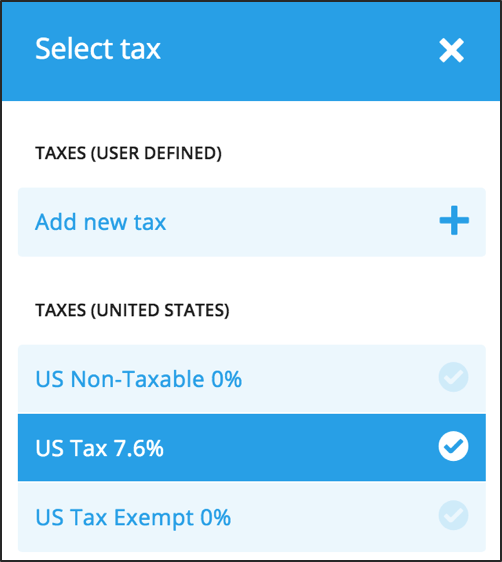
Validating Taxes
- Back in the header-level section, click on Taxes.
- Note that all Taxes Fields are locked and must be unlocked for editing. The process for unlocking fields is described in the following section.
- You can select from the available list, or add a new tax.